
Hey Everyone! So, I finally did a DIY post AND it is featured on another blog as well. Helen is one of my very best friends and I'm so thrilled to be able to do a guest post on Blue Eyed Beauty Blog!
Today, I'll be showing you how to do a super cute and easy Valentine's garland that is made with crochet hearts and tassels. This is my first ever DIY post so I'm excited to see how it turns out!
Today, I'll be showing you how to do a super cute and easy Valentine's garland that is made with crochet hearts and tassels. This is my first ever DIY post so I'm excited to see how it turns out!
What you'll need;
-Yarn of choice (Pink or red work great with Valentine's Day.)
-Crochet hook
-Scissors
-Yarn needle
-Material (I used a floral I found around the house.)
-String (Or you can use the yarn. This is to tie the tassels with.)
-Ribbon or Lace of choice (I found my lace in a little container at Walmart for a buck!)
If you do not know how to make a crochet heart, no worries! I didn't either until I watched the youtube video below. I watched it a few times to make sure I had it right. Once you get it down, it is so very easy!
Simple right? I have been on a "heart making" kick since. I made an abundance of them but for this project, I only used 8 pink hearts. Once those are made, you can move on to the next step!

Cut the fabric into strips. Fold the strips in half to decide how long you want your tassel to be and cut them to that length. I used about 5 strips of the fabric per tassel but you can use however many you want depending on how full you want the finished product to be.

Tie the strips together in the middle with your string (or yarn) and fold in half. Then tie another piece of string around all the fabric an inch or so down from the top. Now that you've tied it all together, you're ready to snip the fabric into smaller strips to create the fringe. Just cut them to whatever width you desire. It does not have to be perfect! That's the beauty of this project. Once all your tassels are done, you're ready to move on! I used 5 for this project.
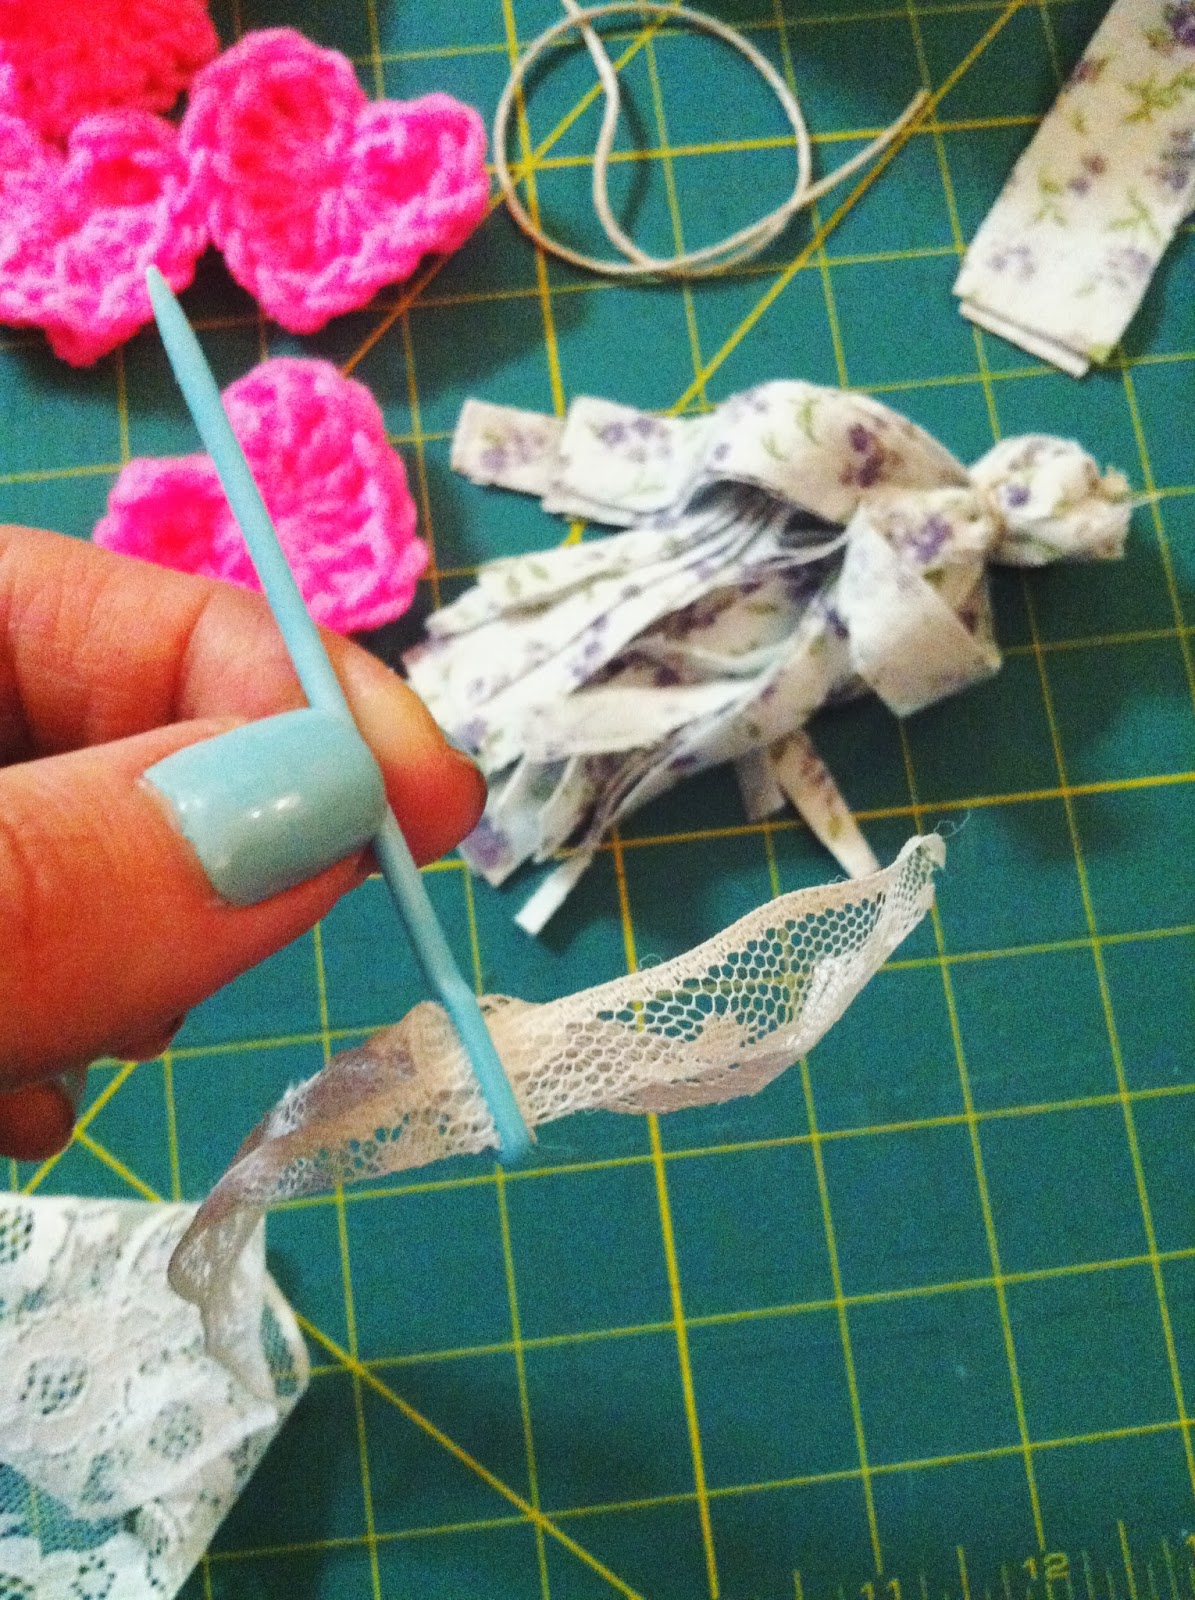
Tie string through the middle of each heart so they look like ornaments. This will make putting them on the garland so much easier. Since that's done, you are ready to start assembling! Hurray! Thread your lace or ribbon through the yarn needle and start putting them on. I did a tassel first, then two hearts, and repeated till everything was on.
And now, your finished Valentine's garland!


Isn't it cute?! The great thing about this garland making thing, is that you can do whatever pattern you want! You could do all hearts or even add little (non-dangerous) arrows. All the sticks outside were wet from snow so as soon as it dries, that is my next garland. I thought this project was so fun and can be used for other things than just Valentine's Day. In the house, at a wedding, a little girl's birthday party.. the possibilities are endless! This one is going up in my room for year round. Hope you all enjoy this little DIY. It's a little late but I have certainly loved sharing it with you!
No comments:
Post a Comment